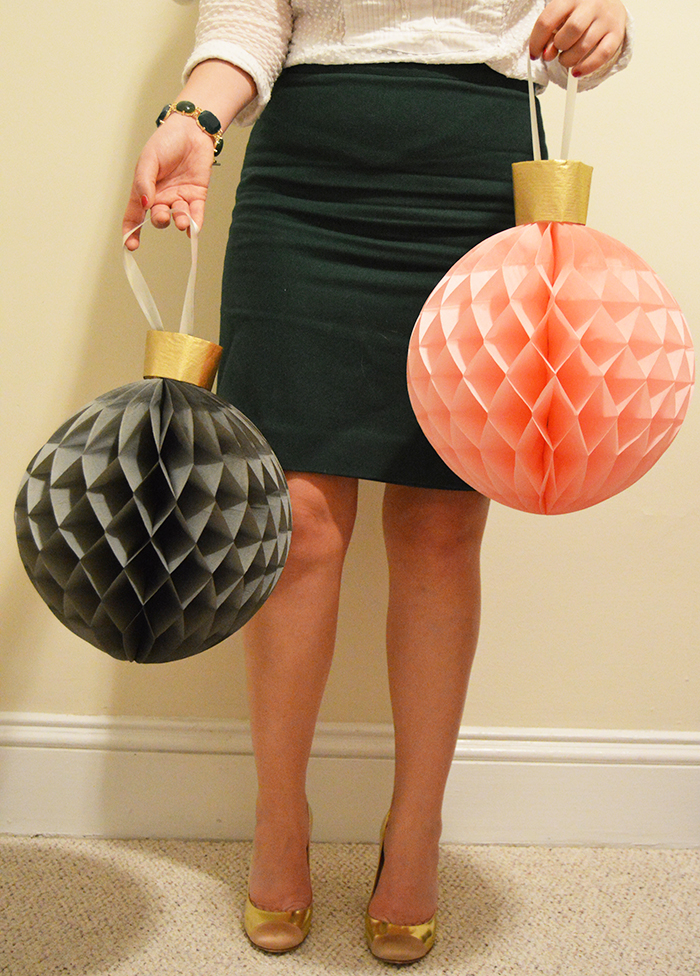
We’re going big this holiday season! And when I say big, I mean GIGANTIC ornaments that are the easiest DIY ever. Be merry + bright with these huge baubles! In my tiny apartment, a Christmas tree is pretty much a no-go. But I still want my Christmas spirit to shine. IKEA Visionar honeycombs to the rescue!!!
All it takes is scissors, tissue paper, glue and a whole lot o’ Christmas spirit! Blasting Mariah Carey’s “All I Want for Christmas Is You” is NOT optional while crafting these Christmas ornaments. So come on, crank up the jams and get in the holiday spirit!
Supplies
Hot glue (or tape)
Gold or silver tissue paper
Paper clips
Directions
Open the Visionar honeycomb decor and secure with adhesive.
Fold the tissue paper so it is two sheets’ thick. Cut along the folded lines.
Using hot glue (or tape), secure the edges of the tissue paper to form a circle.
Secure the tissue paper to the honeycomb with paper clips.

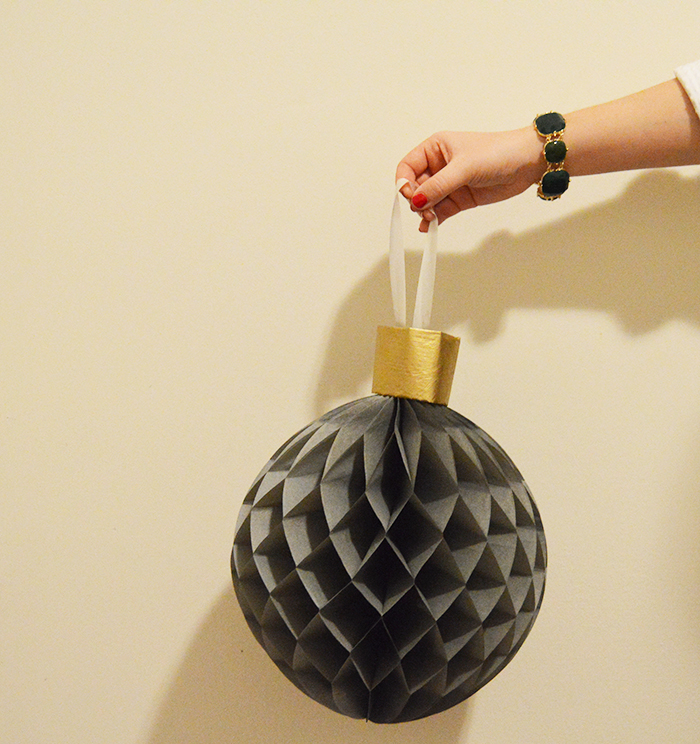
Voila! P.S. Don’t forget to enter to win all the trimmings for this holiday cookie season!
* * *
Let’s Chat!
Twitter | Pinterest | Instagram | Bloglovin’
![]()
This post was sponsored by IKEA® DC. All opinions and product sentiments are my own. Thank you for supporting the brands that make DC Girl in Pearls possible!