
Every week, a bouquet or two of blooms finds its way into my grocery cart. I love my $5 hydrangeas, hyacinth and tulips to brighten up a room and be a Wednesday pick-me-up. I’ve always wanted to learn how to create a gorgeous floral arrangement, you know like the kind you always see on Pinterest or Martha Stewart.
Well Martha, I’m onto to you! The lovely folks over at H.Bloom shared some tips to craft a gorgeous floral arrangement just in time for an Easter Sunday centerpiece or a heartfelt gift for Mother’s Day. Over the weekend, I took a floral design class with H.Bloom at Westfield Montgomery and I really wasn’t sure what to expect since I have zero experience in floral design. But I had a blast during the class!! Chatting with my “classmates” about our foray into floral design and building a colorful spring bouquet to bring home. And guess what? Floral design isn’t as intimidating as you’d think! Let’s get started…
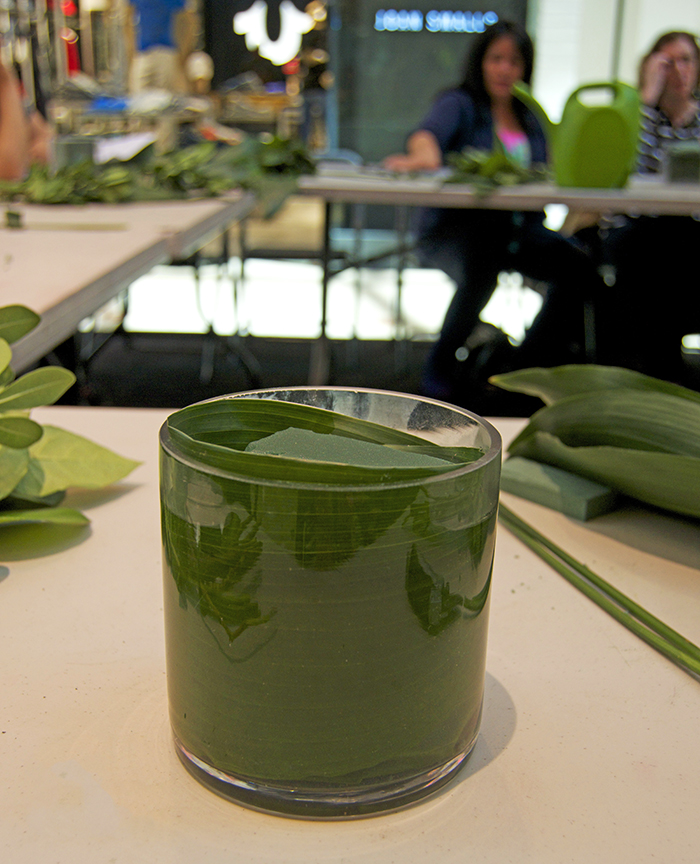
1. Snip off the stems of 2 aspidistra leaves (or any wide leaf palm), wrap them around the inside of the container and place the oasis stick (a green sponge, you can see it peeking out above) in the middle. Fill with water to the top. We’ll stick the flowers into the oasis stick in a second.
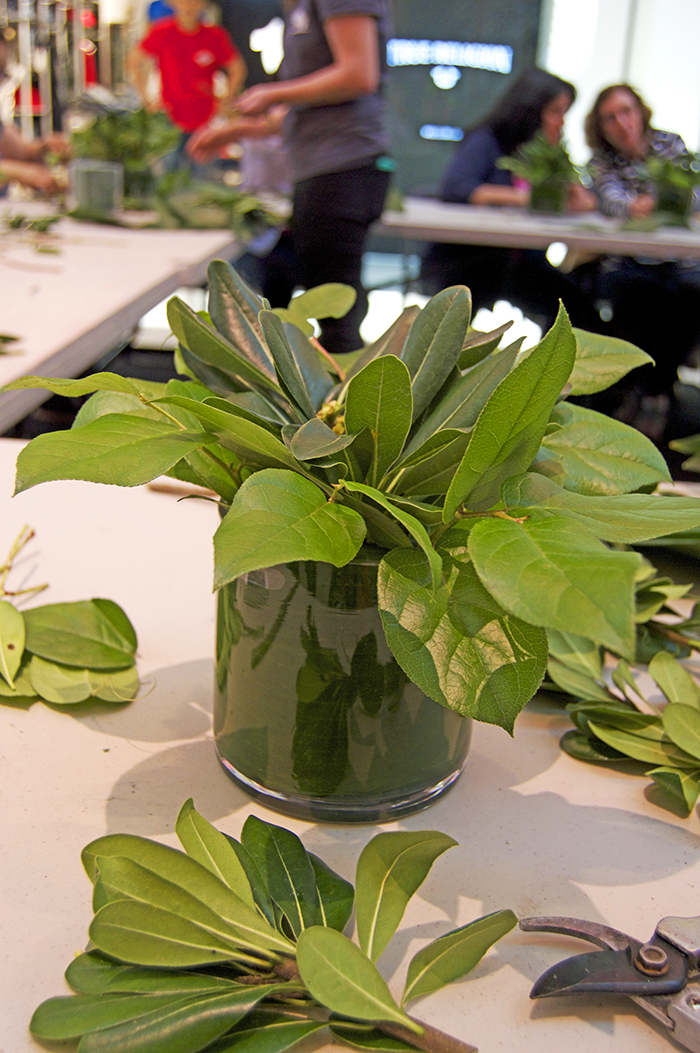
2. Next comes the foliage! We used lemon leaves to line the outer rim of the vase, make sure you place the leaves into the oasis brick at an angle and until you hit the bottom of the container.
3. For the blooms, start with a “line” flower like snap dragons, liatris (above), iris, and bells of Ireland. Place the line flowers into the center of the oasis brick, we’ll be building the floral design around these line flowers.
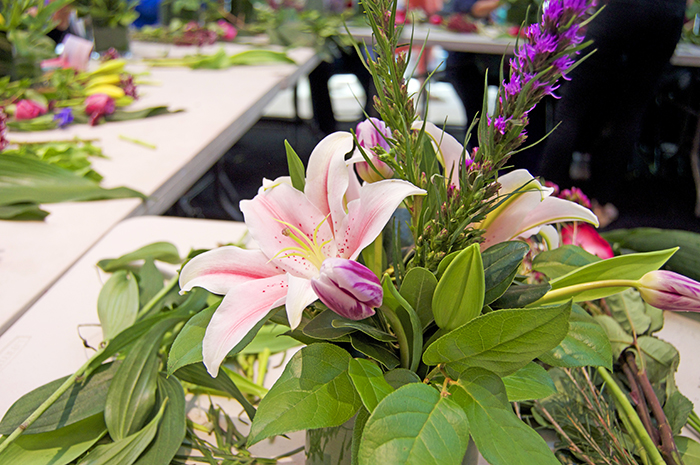
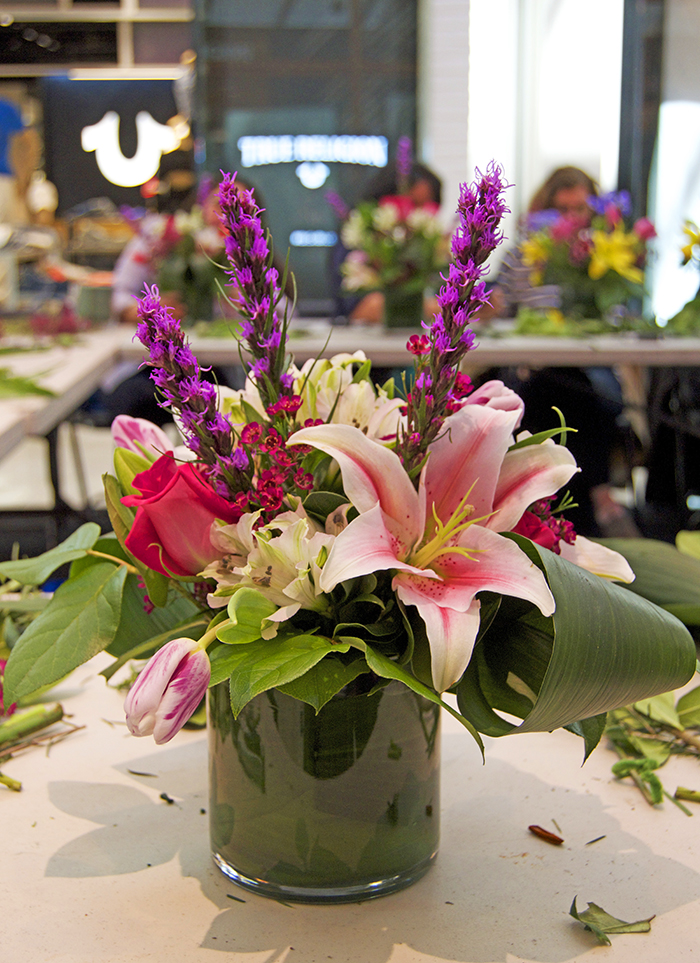
4. Now here’s the bloom-apalooza!! We added lillies, tulips and roses as our focal flowers, placing the stalks again at an angle into the oasis brick. H.Bloom told us to “work in a triangle,” which meant placing the lillies (the flowers with the biggest blooms) in a triangle shape and then adding the tulips and roses into the mix around the lillies. Finally, fill up any negative space in the arrangement with filler flowers like wax flower, Queen Anne’s lace, golden rods, etc.
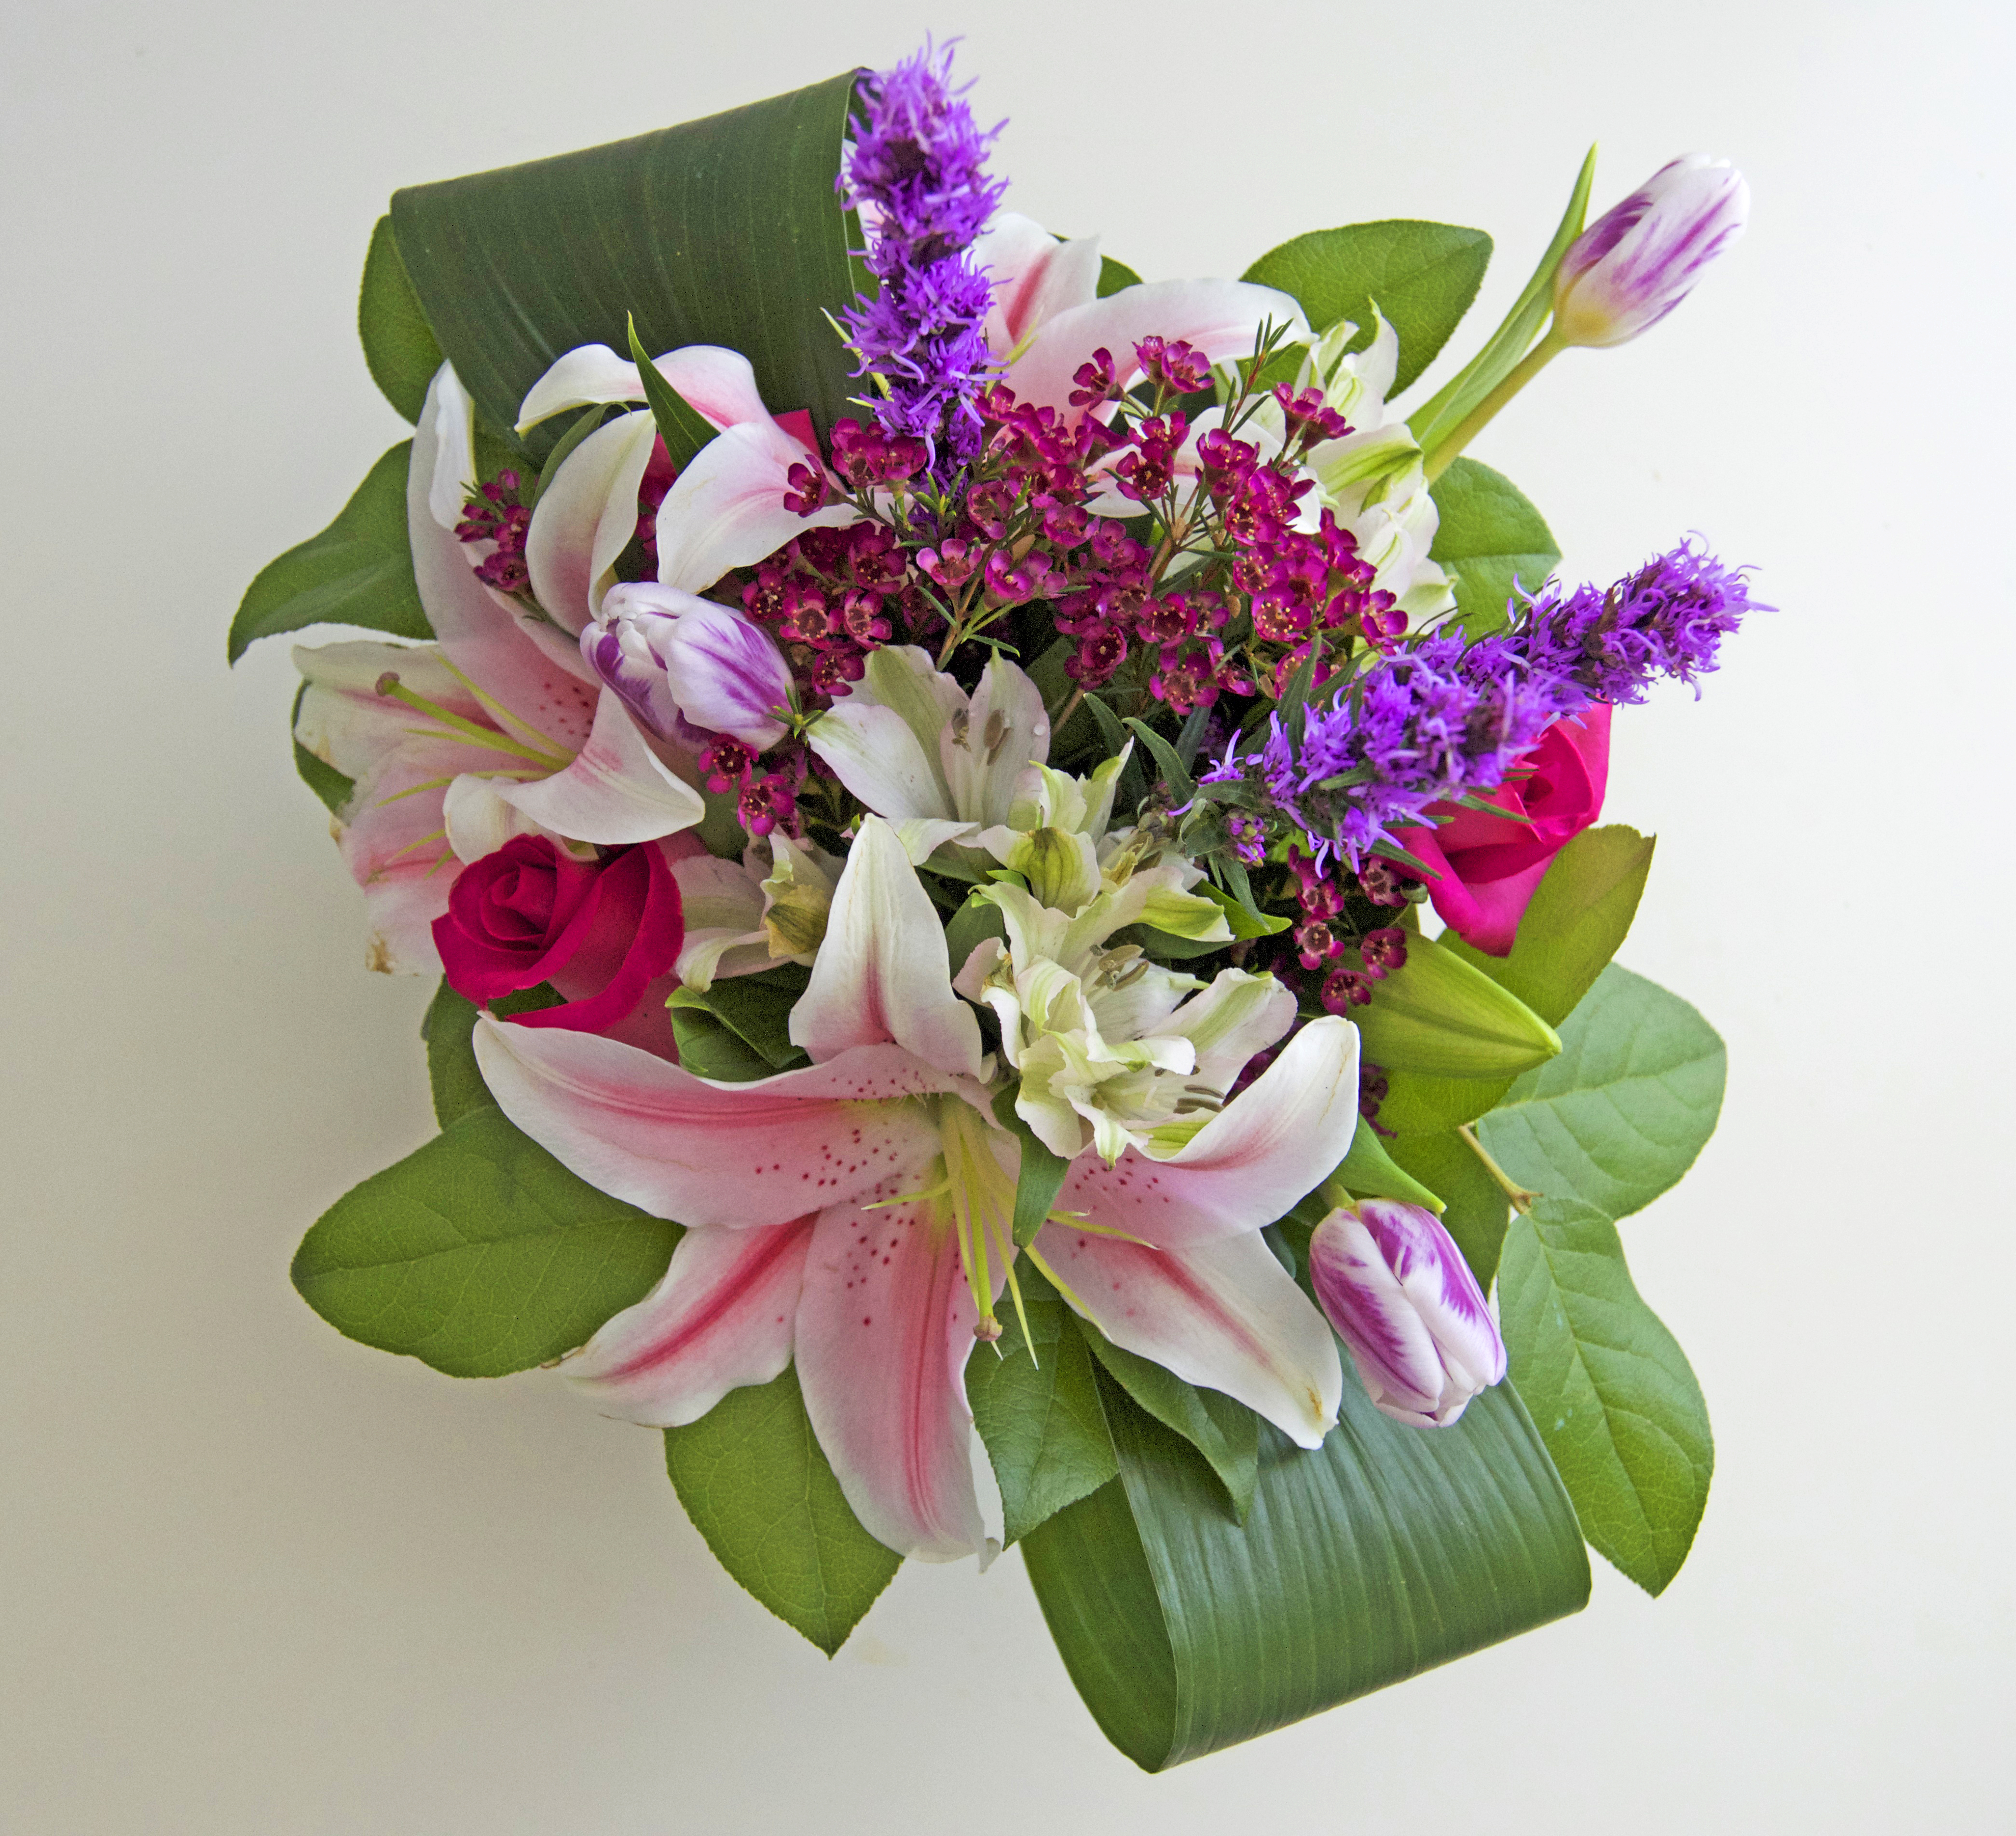
5. Have fun!! I loved that even though our class followed these guidelines, our arrangements all looked different and absolutely gorgeous!

Some general tips to keeping your blooms happy:
- Snip the stems at an angle, it allows the flowers to take in more water
- While cutting the stems, keep your container near the edge of the table and measure the stem using the edge to see where exactly you need to cut the stem for the flower to be the right height.
- Work in a triangle to create a balanced design
- Do you see the wide leaf palm on the left in the photo above? It looks like 1/2 of a bow. Follow these steps to finish your floral design with a bang:
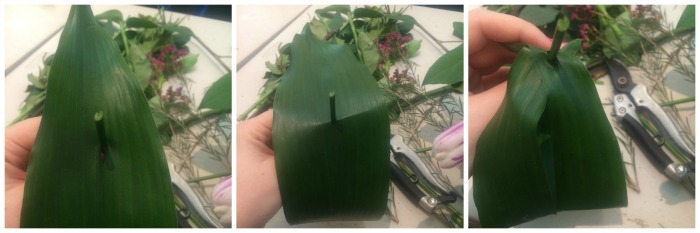
Pierce the middle of the leaf using its own stem and then drag the stem upwards to split the leaf in two. Criss cross the split leaves and again, pierce with the stem. Then, place the stem into the oasis brick and voila!
* * *
Let’s Chat!
Twitter | Pinterest | Instagram | Bloglovin’


How lovely! That sounds like a fun class, and I love your finished arrangement. Thanks for the tips!